Hi all,
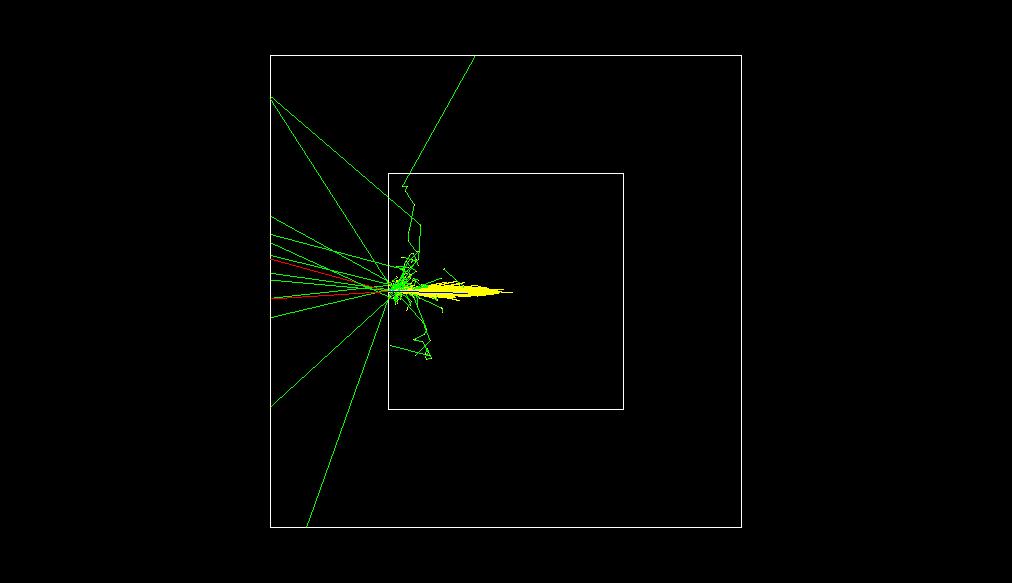
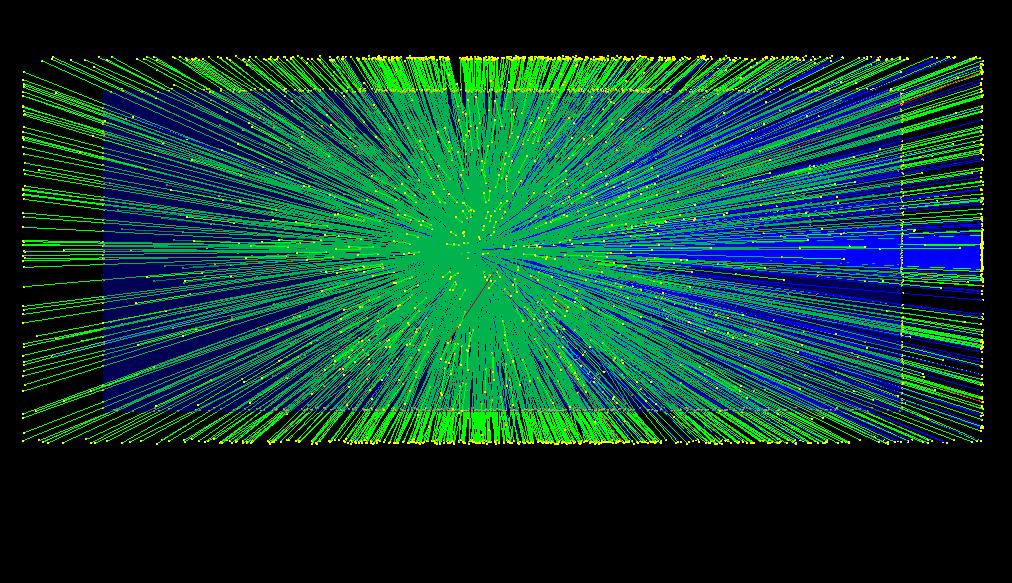
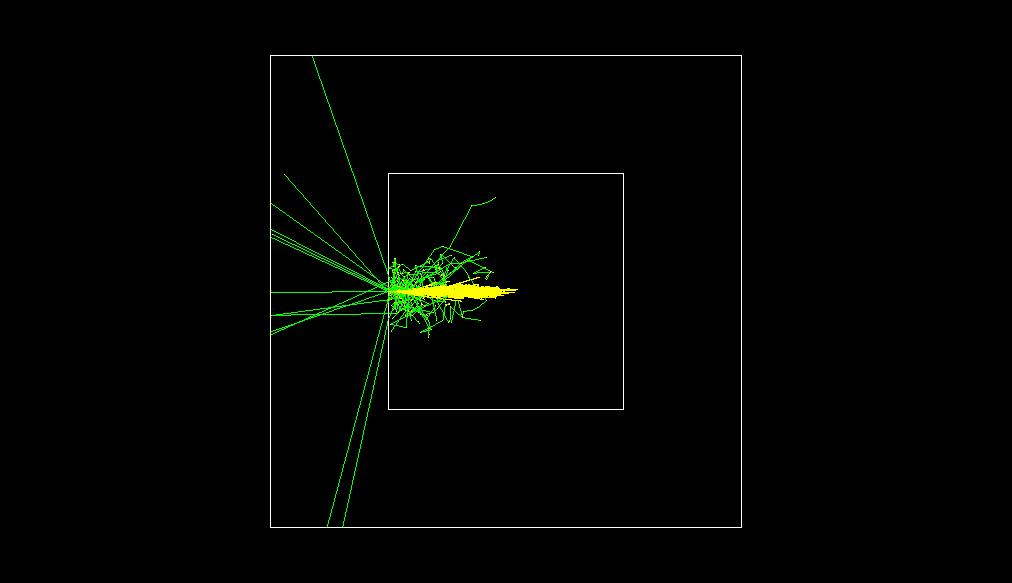
I’m using two very modified examples. TestEm7 and exampleB1. The former when irradiated with 100k protons produces very few neutrals whereas the latter produces many. Where are they going in the TestEm7 example? Both examples are A-150 plastic but I’ve seen the same in water. Could there be a switch that is killing them in TestEm7?
Regards
Tim
Check the two physics lists in those examples. In exampleB1.cc it uses the Geant4 reference physics list QBBC. In TestEm7/src/PhysicsList.cc, the default behaviour is to instantiate only EM physics, no hadronics. There is a macro command (/test/em/phys/addPhysics) you can use to enable hadronic physics (including QBBC) if you wish.
Hi Mike,
I had tried changing the library in TestEm7 for QBBC previously but I’ve just double checked and no difference.
There is a class G4NeutronKiller but it doesn’t seem to have been implemented in TestEm7.
T
Here are some dumb questions:
Are your “neutrals” supposed to be photons, neutrons, or something else? EM physics will produce lots of photons, but won’t produce neutrons, pizeros, etc.
Since you’re already modifying TestEm7, did you try following exampleB1 and register QBBC directly in main()?
Do you have any scoring, or N-tuple, collection which shows that neutral tracks really aren’t getting created?
Is there a chance the visualization macro is configured to just not draw charge 0 tracks in one of the jobs, but not the other?
Thanks again Mike. I’ll give your suggestions a try.
I’m clutching at straws here. But in exampleB1 as I increase the energy spread of the proton beam the energy derived from the distal 80% point of the Bragg-Peak begins to slip alarmingly (in other words the Bragg-Peak becomes shifted to the left or upstream), so energy is clearly being lost. This isn’t apparent in the TestEm7 example and one of the obvious differences between the two is the difference in the production of neutrals.
Regards
Tim
Hi Mike,
yip I tried this. No big difference as a consequence.
At this point I’m not concerned about the visualisation differences but more on the scoring differences between the examples. Walking through the codes it seems that the TestEm7 example uses a very much more sophisticated scoring method with what seem to be filters included in the code (e.g. charge != 0 in StepMax.cc). Those I’ve found I’ve commented out but still the huge shift upstream of the Bragg-peak isn’t apparent.
T


