This is sort of the same question I’ve asked earlier, but expressed differently so apologies for repeating myself.
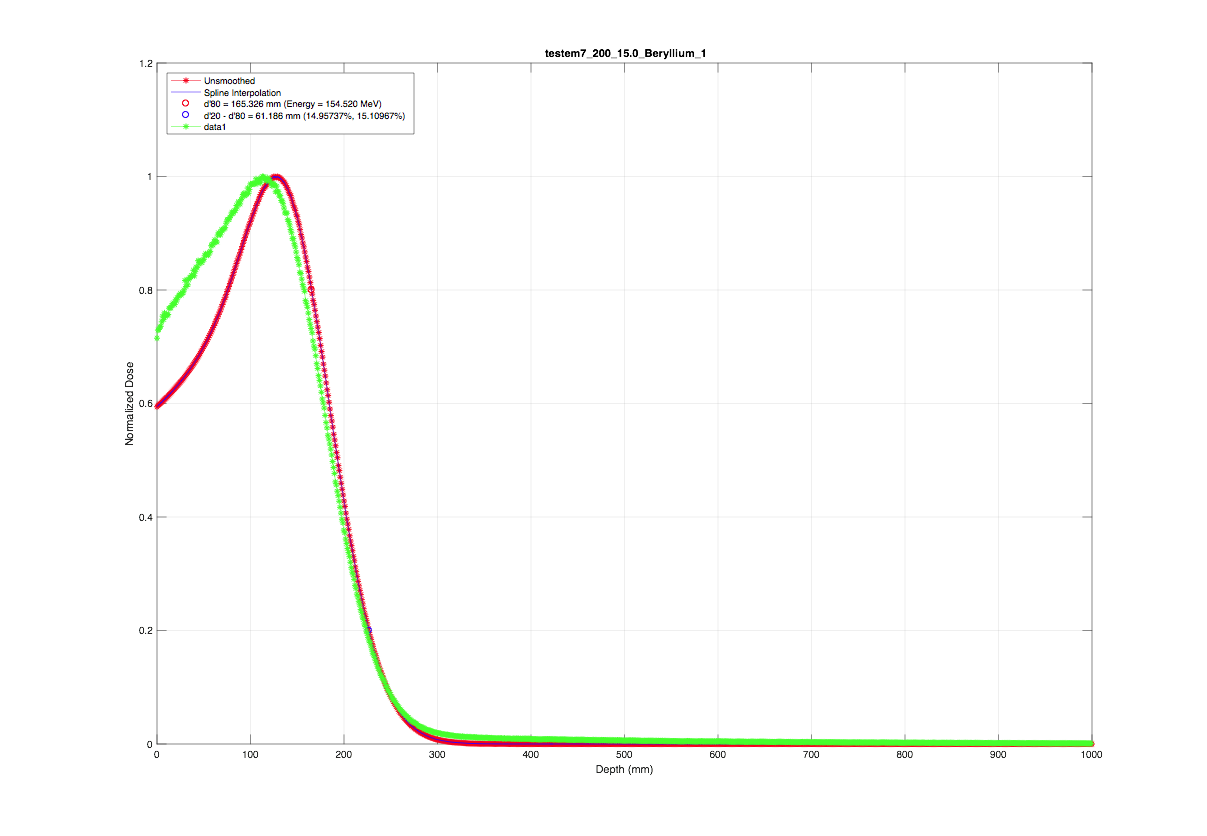
I have the two examples mentioned in the subject line. Both highly modified but the scoring remains unchanged. In the case of exampleB1 I have added many scoring volumes in order to obtain a Bragg-Peak. But with two identical beams of 200 MeV and an energy spread of 15% I obtain the difference apparent in the plot attached (red and blue curves are from TestEm7, raw and smoothed respectively and the green is the interpolated result from exampleB1). With no introduced energy spread the results are identical.
I’ve worked my way through the codes trying to figure out what might be causing this difference in the scoring but nothing has leapt out at me. Any ideas?
Regards
Tim